Monday, August 30, 2010

Microwave Caramelized Carrot Kheer


I was talking to my mother in law today and she told me that she made carrot kheer one day and it came out very well. I took my mother in law's hint and made this carrot kheer.  It came out really good. To me carrot is a boring vegetable . Unless it is mixed in some curry I am not a great fan of carrot. But this kheer is something different. I relished it. Microwaves and thier heat differs. So we must take care to make sure that the food doesnt get burnt. 

This time let me take you through the pics as I am explaining the process. 

Ingredients:

Carrot - 1 cup grated
Sugar - 1/2 cup
Fresh cream - 1/4 cup
Milk - 2 cups
Ghee - 2 tbsps
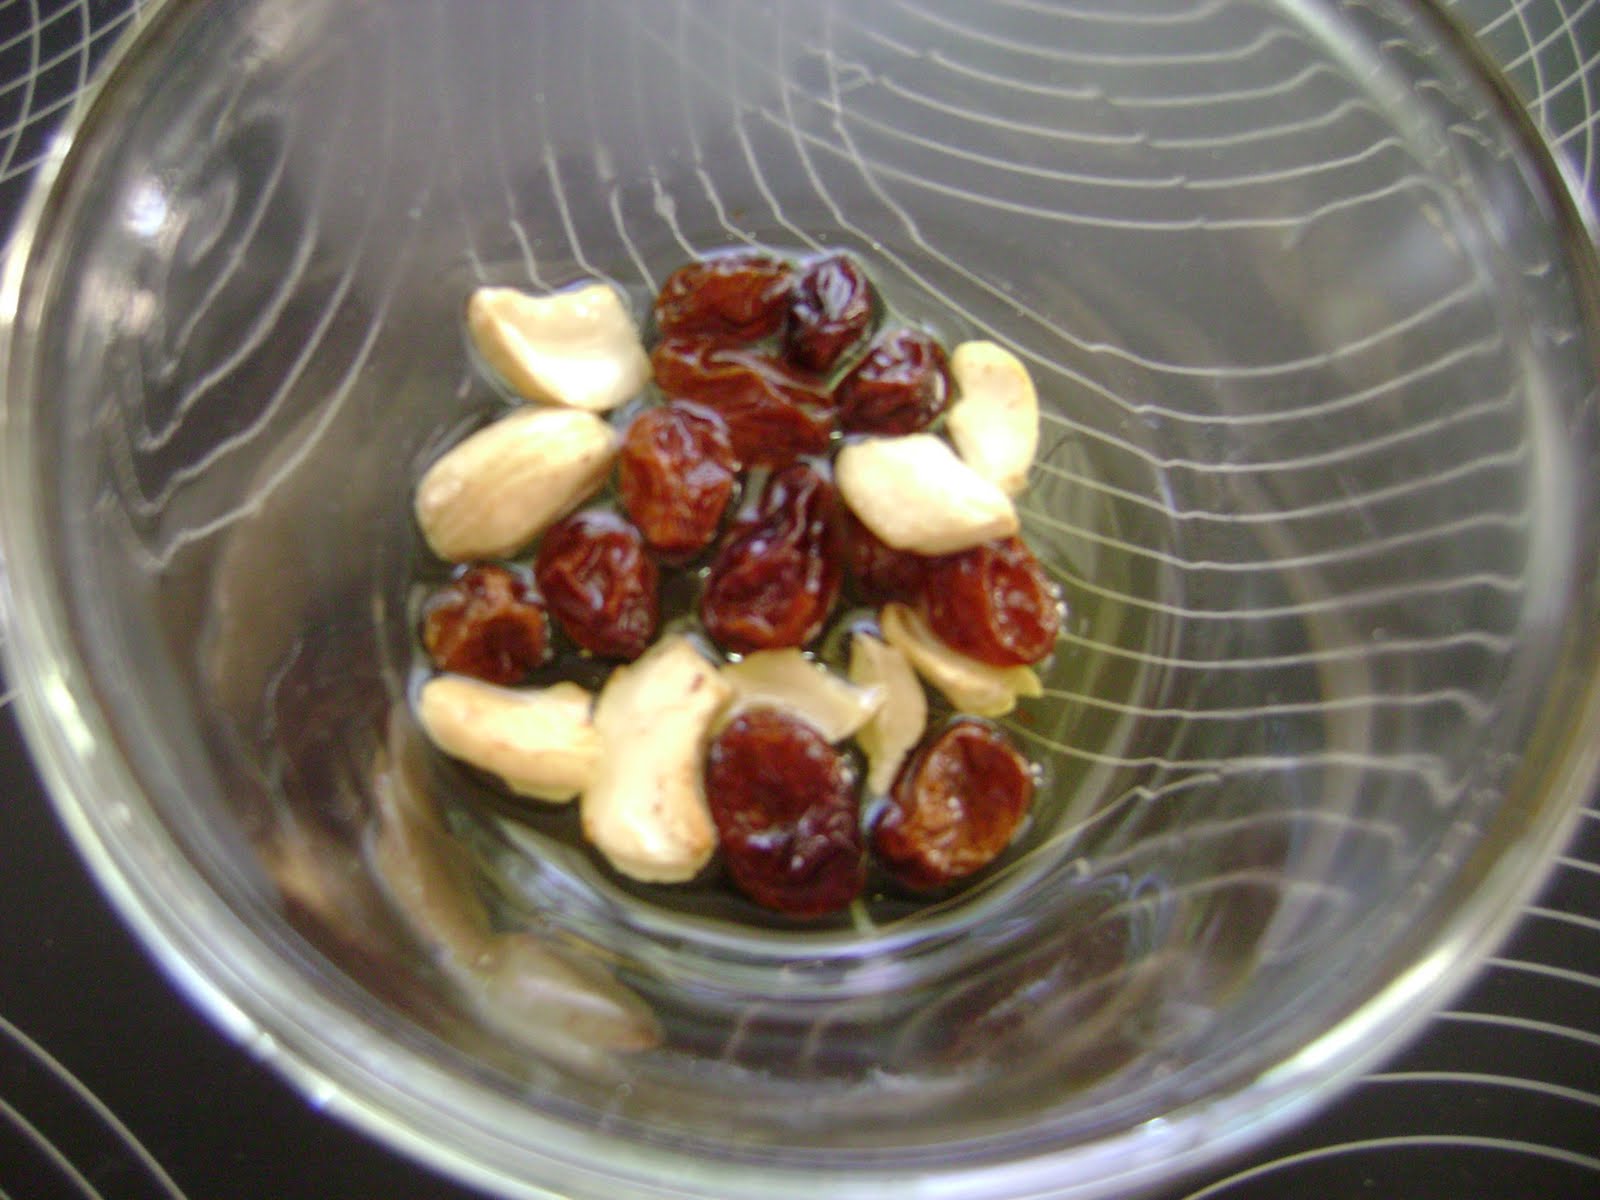
Fried Cashews and other nuts - 1 tbsps

Preparation:

First, microwave carrot and 1/4 milk in a microwave safe bowl for 3 mins. Check and stir in between to avoid burning.


Add sugar stir well and microwave high for 3 mins. Keep checking once in a while.


Now add fresh cream and microwave it for just about 2 mins. Keep checking in between as it can easily get burnt.


The carrots will separate. It will caramelize and will become sticky. If the heat is too high, it will just become crystals. But its ok. Now add milk, ghee and let it boil for about 2 mins. Give 2 mins standing time 


Meanwhile roast the nuts in a separate bowl in a tbsps of ghee. This will be ready in seconds. So keep it for about a minute and keep checking. Obviously we don't want the nuts to get burnt. 


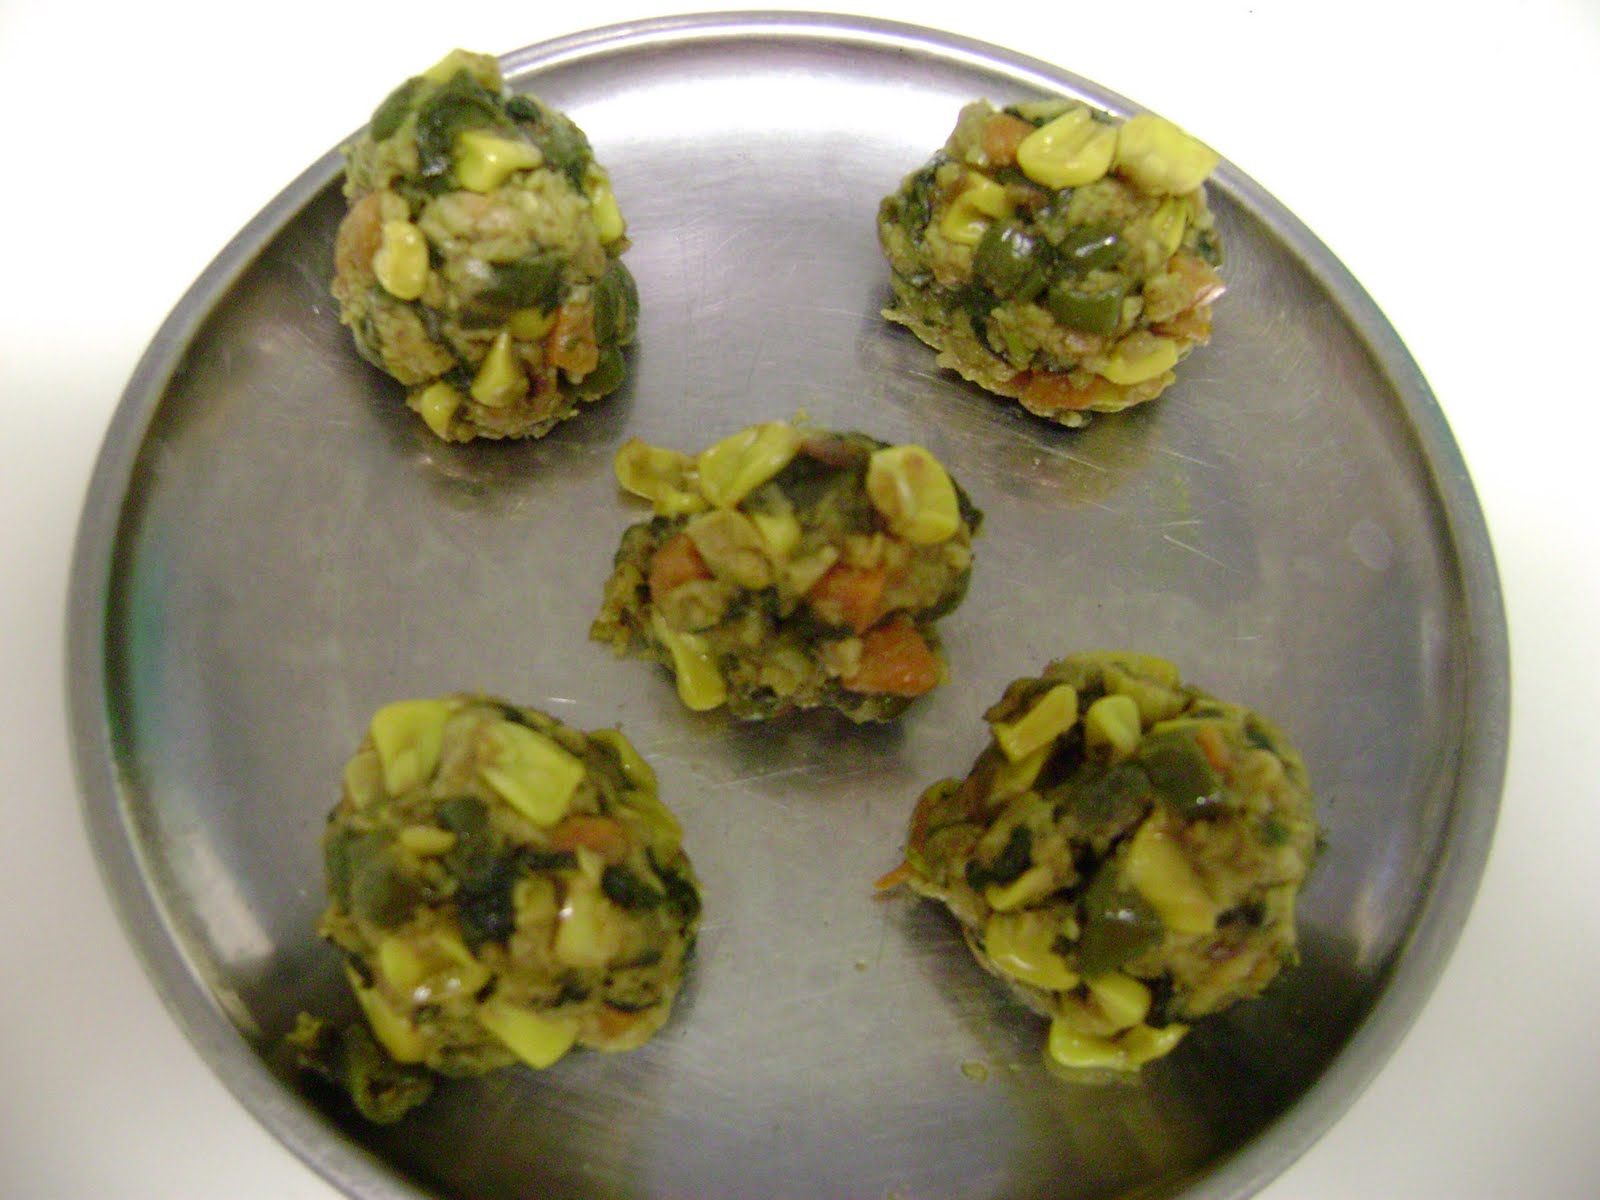
Garnish the nuts to the kheer and its ready to be served for the party. Yummy mouthwatering kheer in just 10 mins. 


Sending this to Ummm Mymoonah's : Celebrate Sweets -Kheer originally hosted by Nivedita

Sunday, August 29, 2010

Tomato Onion Curried Sauté


Tomatoes and Onions are great combination. I love this sauté with almost any dish. It tastes great with bread, chapathi, dosa, idly. You can just mix this with rice and it tastes really yum!! Today being Sunday, I was too lazy as usual to do anything. I made this sauté in the morn and we used it in different forms at different meals of the day. Morn, we had it with bread as a sandwich. In the noon, I mixed it with rice and we had it for our lunch along with some chips and now for dinner, I just diluted it with water, heated it little bit and its ready for my hot idlis. :-) This one dish served my day. :-) People at home cant really guess the secret as we use it in solid and diluted forms...

Ingredients:

Tomato - 3 big chopped into small cubes
Onion - 2 medium sized chopped into small cubes
Ginger Garlic paste / grated - 1 tbps
Turmeric - A pinch
Red Chilli Powder - 1 tsps 
Green chilli - 2
Salt - to taste

For seasoning 

Mustard - 1 tsps
Oil - 2 tsps
Urad dhal - 1 tsps
Cumin Seeds - 1 tsps
Asafoetida -  A pinch
Curry leaves - 7-8 leaves
Cilantro - to garnish

Preparation:

Heat oil in the pan, add mustard seeds. When it splutters, add urad dhal, cumin and asafoetida. When it turns golden brown, add ginger garlic paste and green chili. Fry for few seconds and add onion. 


Fry onion till it becomes transparent. Add turmeric and red chilli powder. You could add garam masala if you need. But I don't really add that. 

Now add tomatoes and keep frying till tomatoes are cooked well. Add salt and remove from heat when tomatoes are completely cooked. 

Delicious all rounder dish is ready in jiffy!!!!


Sending one also to PJ's Healing foods-Tomato  and also linking it to Siri's Healing Foods Event


Other dishes to PJ's event - Sautéed tomato raitha 

Saturday, August 28, 2010

Corriander Coconut Chutney - Reposting


We usually make coconut chutney as side dish. Most common chutney i nour kitchen.  Somehow I dont like the plain coconut chutney so much. May be the white color makes me feel that its a bland dish. So whenever I make coconut chutney, I always make this one. It tastes great and gives good color and aroma to the dish. Simple ingredients, simple recipe, great taste....

Ingredients:

Group 1:

Coconut - 1 cup grated
Green chilli or Red Chilli - 2 (depends on spice level)
Salt - To taste
Roasted Gram - 3 Tbsp
Cilantro/ corriander leaves - 1/2 bunch. (Use the stem also)
Tamarind - marble size
Pearl Onion - 7-8
Ginger - 1tsps chopped

Seasoning:

Oil - 1 tbsp
Mustard - 1 tsps
Urad dhal - 1 tsps
Curry Leaves - 7-8
Asafoetida - A pinch

Preparation:

Grind group 1 ingredients into a corase paste. I like the chunky bites in my chutney. If you like it more fine paste, you can grind it fine. But coarse grind adds more taste to the food.


Heat oil in a pan and add mustard. When it splutters, add urad dhal, curry leaves and asafoedita. When it turns golden brown remove from heat and garnish on the chutney.

Tastes good with dosa, idly, also with rice.

More to come!!! Sending this to Herbs and Flowers in my Platter" - Coriander leaves/Cilantro Originally hosted by PJ of Seduce your Tastebuds


Friday, August 27, 2010

Greek Watermelon Salad


Its almost end of summer in some parts of the country but in San Diego it feels like the summer has just started. Scorching heat makes you feel so dehydrated. Its very important to take sufficient liquids. I was looking for something really cold to eat. I found watermelon that I cut and stored it in the fridge. But this time I wanted to try something new. When I was looking into my fridge,  I happened to bump into the crumbled herbed  feta cheese. I used some for my pasta dish and I had some leftover. It was too little to use for another elaborate dish. An idea stuck my brain. Why not try something with watermelon and the cheese???!!!! Sounds interesting right???? Yes its actually a Greek salad. I googled with these ingredients and I found a good salad recipe. I added some extra ingredients to my taste. Thought will share it with you all.

Ingredients:

Baby Watermelon (Seedless preferred) - Half  cut into small cubes.
Herbed Feta cheese - 2 tbsp
Cilantro - To garnish
Pepper - 1 tsp

Preparation:


Just cut watermelon into small bite size cubes.

Drizzle feta cheese on top and some pepper too. The feta cheese is salty so there is no need to add additional salt. Usually I like to add just salt and pepper to my watermelon as it boosts the sweetness of fruit. But when we add feta, there is no need for salt. I used herbed feta since I had it. You can also try it with regular feta and add any herbs of your choice to the salad. It tastes great for summer!!

Garnish with cilantro leaves and serve it cold.

Happy Weekend!!!


Watermelon

Sautéed Tomato Raitha


I was talking to my mom about cooking today and she was asking me about my menu for lunch. I told her I was planning to make carrot rice and she asked me about side dish. I told her that I was planning to make regular onion raitha which goes without saying how simple it is to make. She gave me this sauteed tomato raitha recipe and asked me to try this one and came out really good. It tasted so good with the carrot rice. Its a simple one and very delicious side dish. So the credit goes to my mom :-)

Tomatoes are used in numerous forms and in umpteen dishes. We eat it raw, cooked, pureed, juices. In fact there is no kitchen without tomatoes. Its one of the most important ingredient for our cooking. It has great nutritional values too.

Nutritional facts: (Source: Organicfacts.net)

Rich in calcium and iron

It is rich in vitamin C

Good for weight loss, obesity, eye disorders, diabetes, morning sickness, constipation, liver disorders etc.

Purifies Blood

Ingredients:

Tomato - 2 -3 chopped in medium sized cubes
Oil - 1 Tbsp
Mustard - 1 tsps
Cumin Seeds - 1 tsps
Urad Dhal - 1 tsps
Green Chilli - 2 Chopped
Curry Leaves - 8-10 leaves
Salt - to taste
Yogurt - 1/2 cup

Preparation:

Heat oil in a pan. When it is hot, add mustard seeds. When mustard starts to splutter add uradh dhal, cumin seeds and when urad dhal turns golden brown, add green chilli. Fry it for about 20 seconds.

Now add tomatoes. Fry it till tomatoes get cooked. Do not add water. Let tomatoes cook on its own.

Once tomatoes are cooked, transfer it in a serving bowl and add1/2 cup yogurt. You can add water to dilute the yogurt as required. Add salt and mix well.


Tomato raitha is ready to be served with hot pulao or carrot rice or any other curried rice. Tastes really good. It is different from the regular raitha as we first sautee the tomatoes. This gives a different taste to the dish.


Other recipe sent to PJ's scrumptious delights from leftovers Event - Veggie Bonda 


Thursday, August 26, 2010

Veggie Bonda with leftovers


Leftovers!!!! Most of the time there is something or the other that we make extra and that will carry forward to the next day. I am usually of the type that would like to finish it somehow or the other. So this is one of them. I had lots of veggie left today and I was wondering what I could do with it as we are going out for dinner to our friends house. I dint feel like taking it to their house as it was not sufficient. My brain was simultaneously thinking about evening snack. You would have guessed it by now!!! Yes I thought of using these veggies for my eve snack. Its vegetable bonda. 

Ingredients:

Carrot - 1 finely chopped
Beans - 10-12 finely chopped
Potato - 1 finely chopped
Corn - 1/4 cup
Besan Flour - 4 tbsp
Rice Flour- 2 tbsp
Salt - to taste
Red Chilli Powder - 1 tbsp
Asafoetida - 1 pinch
Oil - 1/2 cup


Prepare your usual style of vegetable. *

Mix besan flour, rice flour, salt, chilli powder, asafoetida in water. Do not make it too watery. It has to be in semi dilute form. 

Heat oil in a pan

Prepare small balls out of the vegetables and dip it in the flour mix and deep fry the dipped balls in oil.

Its very simple recipe with the leftover vegetables and a great snack for our loved ones. Tastes great with hot sauce or tomato sauce.

No one can eat just one!!!!


*  Heat oil and add mustard. When it starts to splutter, add Urad dhal, Cumin seeds. When the seasoning turns golden brown, add onions and fry till it becomes transparent.  Add other vegetables and add salt, chilli powder, garam masala if needed and cook it in medium flame. Sprinle water when necessary to cook the vegetables. When the vegetables cook well, add some corriander leaves (optional) for more flavor. 

For stuffing you can also make potato and peas or any type of vegetable of your choice. It tastes very good with any stuffing. 

Happy Cooking!!!

Tuesday, August 17, 2010

Split Pea Soup


Soups are my favorite. I can just live on soups. I am sure many of us like soup. Its healthy, its delicious and a great meal supplement. My husband loves split pea soup from CPK (California Pizza Kitchen) This made me try the split pea soup at home and beleive me its a super duper hit!!! And now, no more CPK, its only AK's split pea soup. ;-)

Nutritional Facts:


  • Split pea - legume family- is a great source of cholestrol lowering fiber.


  • They are also of special benefit in managing blood-sugar disorders


  • It provides excellent amounts of  important minerals,  B-vitamins, and protein--all with virtually no fat.


  • They are a good source of potassium


  • It is also good for lowering high blood pressure.

Ingredients:

Split Peas  - 1 Cup
Bay Leaf - 3 leaves
Cloves - 3-4
Onion - 1 cup Chopped
Celery - 1/2 cup Chopped
Paprika - A pinch
Salt - to taste
Olive Oil - 2 tbsp
Water - 1.5 cups

Preparation:

Pressure cook the split peas or cook split pea in 1.5 cups boiling water in a pan untill its cooked well.

In another pan heat oil and add bay leaves and cloves. When the cloves start to fluff, take the cloves and bay leaves out (its only for the nice aroma) and add onions. Fry untill it starts to loose its color and add celery and salt. Continue to fry till celery is almost done.

Remove from heat and let it cool. When warm, add the mixture in a blender along with the cooked split pea. Add about 3/4 of the cooked split peas and blend everything untill it blends well.

Now again turn on the heat and pour this mixture in the pan and add the left over split peas to this and let it cook for about 5 mins untill it comes to a boil. 


Drizzle paprika on top of the soup and serve it with hot corn bread or any other variety. Such a treat to taste buds in winter :-)


Friday, August 13, 2010

Spicy Herbed Fusilli Pasta


Last week I was in my cousin's house when I made this pasta dish. My niece Aks loved it so much that my cousin was so suprised to see her daughter eat this dish morsel after morsel. Yesterday my cousin called and told me that my niece asked her for that same pasta dish and  she had to make it for her. So i want to dedicate this dish for my niece Aks.

This is a simple pasta recipe with flavors that you will love. Nothing special or extraordinary but just the right flavor gives it a great taste. It is also very healthy. We can use wheat or multi grain pasta too. Multi grain pasta it adds more nutrional value to our food.

Serves - 2

Ingredients:

Fusilli Pasta - 2 cups ( You can use wheat or multi grain pasta also)
Yellow Bell Pepper - 1/2 cut lengthwise
Carrot - 1 cut lengthwise
Onion - 1 Cut lengthwise
Baby Spinach - 1/4 cup
Tomato onion garlic marinara sauce- 1 and 1/2 cup
Olive Oil - 2 Tbsps
Red Chilli Crushed or Chilli paste - 2 -3 Tbsps (depends on your spice level)
Herbed Feta cheese or any cheese of your choice - 1/4 cup
Dry or fresh herbs (Rosemary /Oregano / Basil / Mint) - 2 tsps
Salt - a pinch.

Preparation


In a large pan, boil 6-8 cups water and add the fusilli pasta and little salt. Cook till it becomes tender. Drain water and keep pasta aside.

In another pan, heat olive oil and add onion. Fry for 2 mins and add cut vegetables except spinach Add marinara pasta sauce and salt (if necessary as the pasta sauce already has salt in it) to the half cooked vegetables and let it cook for another 2 mins untill it mixes well. I add the chilli paste along with this mixture at this point to give that kick to the pasta dish. Those who prefer the traditional pasta can jus sprinkle crushed pepper on top just before serving.


Now add the cooked pasta and mix well. Sprinkle the cheese and spinach on top of the pasta and put it in the oven for about 25-30 mins just to set well. Pre heat the oven 375 degrees. Check in between to avoid burning of food. Now the pasta is ready to be served. Serve pasta with garlic bread and sprinkle dry herbs on top jus before serving. It gives good aroma to the food and herbs are anyways good for health.


You can make this same dish with penne, maccheroni, spaghetti, rigatoni. You can also include any vegetable of your choice. Kids will love this dish and its a great disguise for vegetables. Enjoy the dish and I will be back soon!

Thursday, August 12, 2010

Quinoa Uppitu / Quinoa Upma


Quinoa originated from the Andean region of South America. It remained their important food for 6000 yrs. It has great nutrional values as its protein content is very high. Unlike wheat and rice, quinoa has balanced set of amino acids makign it a complete protien source compared to other plant foods. It is also rich in dietary fiber, phosphorus and iron. (Source: Wikipedia) This new item in my pantry is now our favorite. It has got such rich nutrional values and it tastes really delicious. I get very excited when i see the sprouts when we cook the quinoa. I learnt about this quinoa when we went to my husband's cousin's house. She had made Quinoa uppitu / Quinoa Upma. It tasted so good and I thought I should share this dish with such nutrional content with all of you.


Serves 2:

Ingredients

Quinoa - 1 cup
Mixed Vegetables - 3/4 cup (Chopped)
Onion - 1 Small finely chopped.
Green Chilli - 3 chopped
Water - 2 cups
Red Chilli Powder - 1 tsps
Turmeric Powder - 1/2 tsps
Salt - to taste

For Seasoning:

Oil - 2 Tbsps
Mustard - 2 tsps
Urad Dhal - 2 tsps
Cumin Seeds - 2 tsps
Curry Leaves - 6 to 8 leaves

Preparation:

Wash quinoa untill water runs clearly. This removes the saponins from quinoa which gives a bitter taste to quinoa. I presonally do not mind the bitter taste. In a vessel, add 2 cups water and quinoa and let it cook in medium heat for about 15 - 20 mins. The cooked quinoa will have tiny white sprouts. Keep it aside.


Now in a pan add oil and when its hot add the seasoning. Fry them untill golden brown and green chilli and then onion. Fry till onion becomes transparent. Add the mixed vegetables, turmeric, chilli powder, salt and let the vegetables cook untill tender. sprinkle water when necessary.

When the vegetables gets cooked, add quinoa and mix everything well. Quinoa Uppitu is ready! Its a simple recipe but tastes very good. You can serve with sambar or coconut chutney.


I like to cook quinoa and vegetables seperately and mix them. Alternatively, you can pressure cook quinoa like rice along with vegetables. In a pan add the seasoning  fry this quinoa and veggie mixture for 5 mins untill everything mixes well. I prefer cooking it in seperate container to be sure that I dont add too much water.

We can also germinate quinoa to add it to salads and other cold food. Soak quinoa for about 2-4 hrs in clean water to make it sprout and add it to your dish.

Sending this to Priya of Mhraorajasthan's CWF - Quinoa event started by Kiran

Tuesday, August 10, 2010

Cherry Mango Blast!!


Its summer!!! We all love summer.. Its the best part of the year to enjoy at the same time keep our body hydrated. I was just sitting on my couch thinking what to write for the blog today and suddenly the Cherry Mango Blast idea stuck my mind. Usually i just make milkshake out of  fruit and milk and may be sometimes add sugar. This time I wanted to add something more to it. The best thing to add is obviously ice cream. What flavor???? Usually i prefer vanilla as its a safe option. This time I had mango ice cream. And beleive me its so delicious!!!!


Serves : 2

All you need is:

Fresh Cherries - 8 to 10
Milk - 1 cup
Mango Ice cream - 4 scoops.


Procedure:

Take out the pits from cherries. Blend it along with milk and ice cream in the blender untill everything blends well and you see the froth. I like shakes with the froth. So I whip it extra for about 2 mins and that's it! The Cherry Mango Blast is ready in no time.

Health Factor:

I read an article on Cherries which states that cherries are great source of vitamin C, rich source of fibre and it has melatonin which helps regulate sleep cycles.

Such a great drink for summer !!! Yum! Yum! yum! yum! Delicioso!!!


I am sending this recipe to Ayeesha's Veggie/ Fruit A Month event and also Priya's Vegetable/Fruit A Month"

Monday, August 9, 2010

Reposting Eggplant Curry - Baingan Bhartha


Eggplant is not my kinda veggie. Somehow from my childhood I have an avertion to eggplants. But one day when we went on a vacation to Jaipur, I had a chance to relish yummy makkan rotis and delicious baingan bhartha in the roadside dhaba. This was my first eggplant attack and it has remained my favorite dish ever. I just found out from my cousin that this is my aunt U's favorite too!! So i want to dedicate this to her. Wish I could cook it for her in person. She lives in India and I hope one day i can make this super duper dish for her.

Ingredients:

Eggplant - 1
Onions - 1 finely chopped
Tomato - 2 ( 1 chopped and 1 for grinding)
Ginger garlic paste - 1 tsp
Turmeric - a pinch
Garam masala / baingan bartha masala - 3 tbsp
Green chilli - 1 ( if need be)
Salt - to taste

For seasoning:

Oil - 2 tbsp
Cumin seeds - 1 tsp

To Garnish:
Corriander leaves


Earlier i used to cook the eggplant by tossing it on top of the stove untill it gets cooked well and you get smoky smell. But this time i tried keeping the eggplant in the oven for 30 -45 mins preheated to 380 degrees. It came out so well. I could peel the skin so easliy and the best part is no mess and no struggle to clean. 


Procedure:
First cook the eggplant in oven pre heated to 380 degrees for about 30 -45 mins. Keeping looking in between to avoid burning. Keep aside when cooked.


Grind tomato, ginger  garlic paste, chilli, garam masala powder, turmeric powder into a nice puree. This will give the gravy a thick and a nice flavor. 


Now in a pan heat oil and add cumin seeds. First add onions and fry till it becomes transparent. Then add chopped tomato and keep frying for 3 mins untill tomato is almost cooked. Now add the tomato puree, salt and let it boil for some time till the oil sperates from mixture and the raw smell fades.


Add water if necessary. Thats it! Its amost over. Now mash the eggplant and add it to the gravy and let it cook for about 5 mins till everything blends well.


Woow!!! I am waiting to taste this yummy bhartha. Garnish with corriander. Add extra butter on top if you are not weight conscience.   It tastes great even without butter. Now this has become my husband's favorite too!!! You can eat this with roti or bread or even have it with rice. Happy cooking!! See you soon!

Beans Paruppu Ussili


The best combination for more kozhambu will be paruppu usili. Untill I got married, I never liked both the dishes. Actually i hardly used to eat at home when my mom made this at home. But fortunately or unfortunately, my husband's favorite combination is more kozhambu and beans paruppu usili. So I make it for him and am forced to eat it too. There are many such dishes that I started to eat after I got married :-).

The best thing i like about my usili is that i make the dhal mixture little crispy as i fry it well. It tastes good with the vegetables. You can also make cabbage paruppu usili, beans usili, also vazhapoo paruppu usili. The process is the same. Add cooked vegetables to the usili mixture. It has good and different taste when we use different vegetables.


Serves 2

Ingredients:

Beans - 1 cup Chopped
Toor Dhal - 3 Tbsp (Soaked for 3 hrs)
Channa Dhal - 1.5 Tbsp (Soaked for 3 hrs)
Red Chilli - 2 ( depends on requirement)
Salt - To taste
Asafoetida - 2 Dashes
Turmeric - A pinch

For Seasoning:

Oil - 3 Tbsp
Mustard - 1 tsp
Urad Dhal - 1 tsp
Curry Leaves - 5 to 8 leaves


Boil beans or any other vegetable mentioned above. Grind soaked toor dhal, channa dhal, red chillies turmeric salt and some curry leaves into coarse paste. Do not add too much water. Now in a pan, heat oil and add mustard. When it splutters add urad dhal, curry leaves, asafoetida. Add the ground mixture and keep frying till the mixture cooks well. The paste will change color and becomes seperate granules. Keep frying till it turns into light brown and crispy. Now add the cooked beans and stir it untill everything blends well. Keep it in medium flame for 2-5 mins stirring occasionally. Paruppu usili is ready in mintues.


Tastes really good and its a great source of protein. The crispy misxture blends well with the vegetable. Its a nice way to make kids eat vegetables in disguised form. 


LinkWithin

Related Posts with Thumbnails